How to take better photos when traveling
Editor's Note
Travel is a remarkable thing, opening our minds to new places, new cultures and new experiences. And with powerful cameras built right into most modern smartphones, it's easier than ever to photograph one's travels. We don't want you to just take photos, though. We want you to take excellent photos.
Whether you intend to share your memories on social media, or simply archive them to share with friends and family, we've compiled a list of tips for everyday travelers who want to up their photography game.
For more TPG news delivered each morning to your inbox, sign up for our daily newsletter.
[table-of-contents /]
Splurge on your smartphone
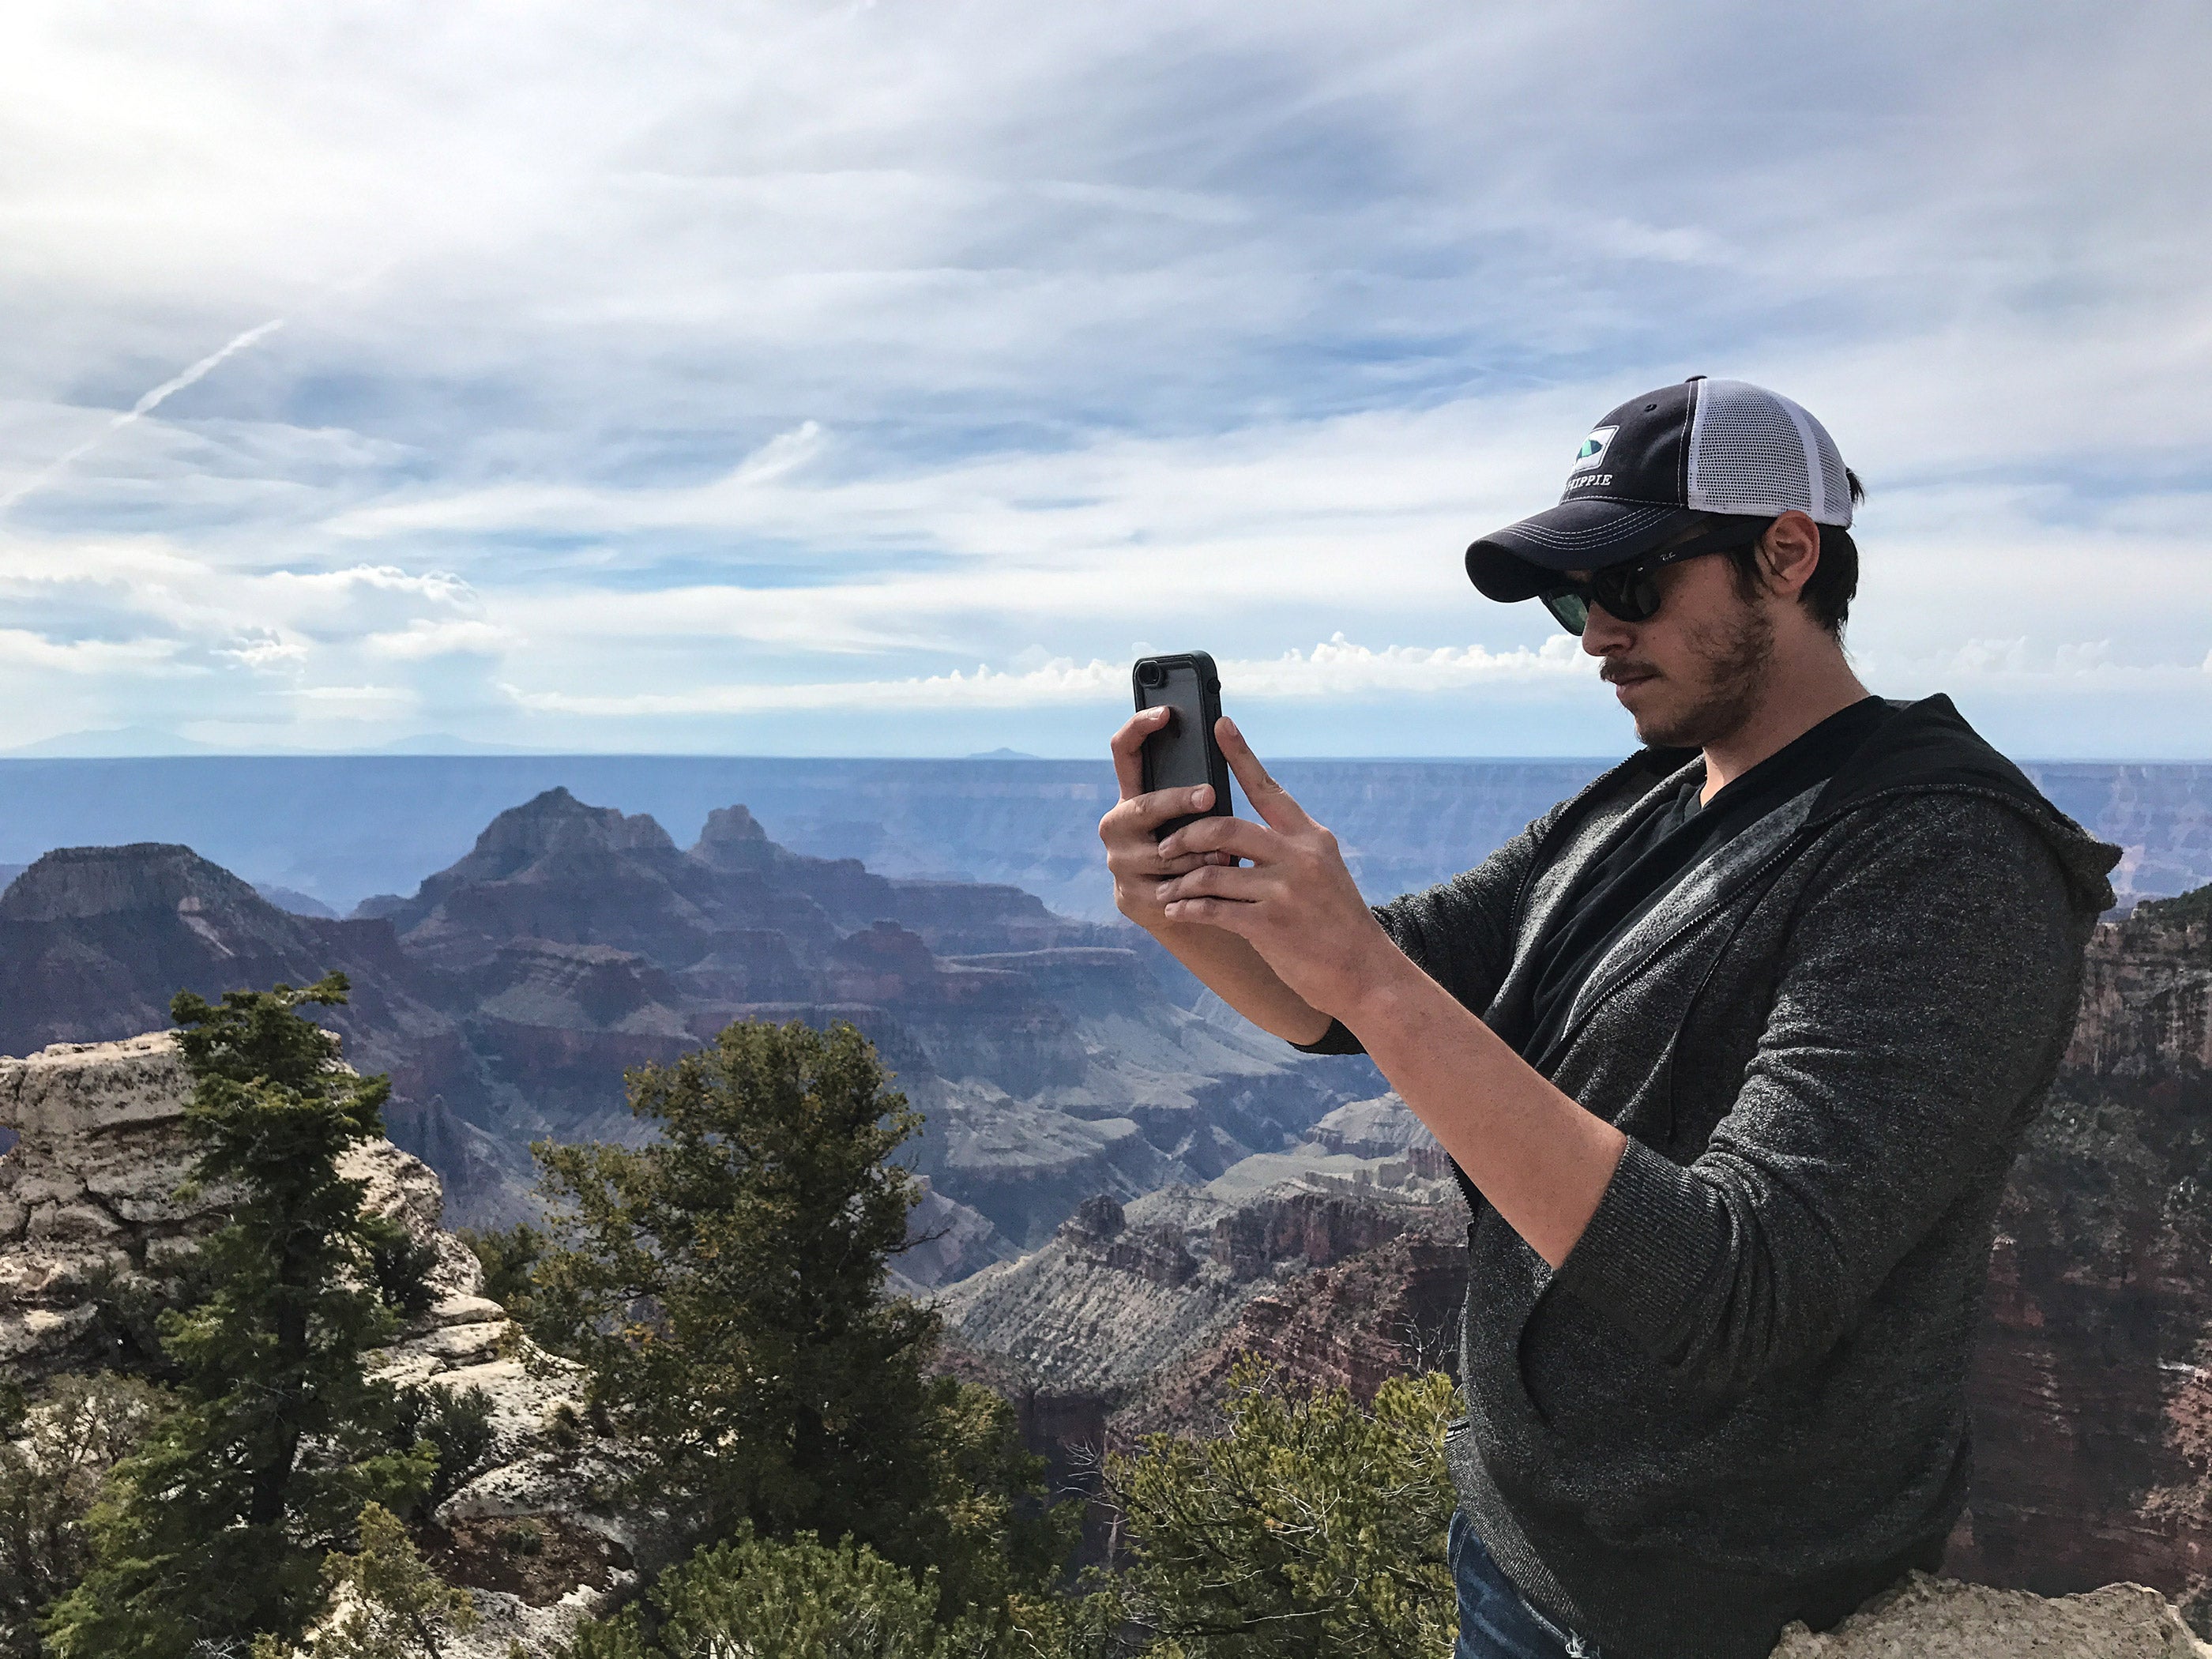
When it comes to camera quality on smartphones, you get what you pay for. TPG Editor-at-Large (and phone photographer extraordinaire) Zach Honig bounces back and forth between the latest iPhone and the latest Google Pixel. Both of these phones have excellent cameras. It pays to know a bit about lighting and framing (which we'll touch on below), but these two devices are safe bets for those who plan to point and shoot.
If you're looking for a different perspective, consider a DJI Osmo Pocket or DJI Mavic 2 Zoom drone.
Related: How to use a smartphone to photograph the northern lights
Lighting, framing and panoramas
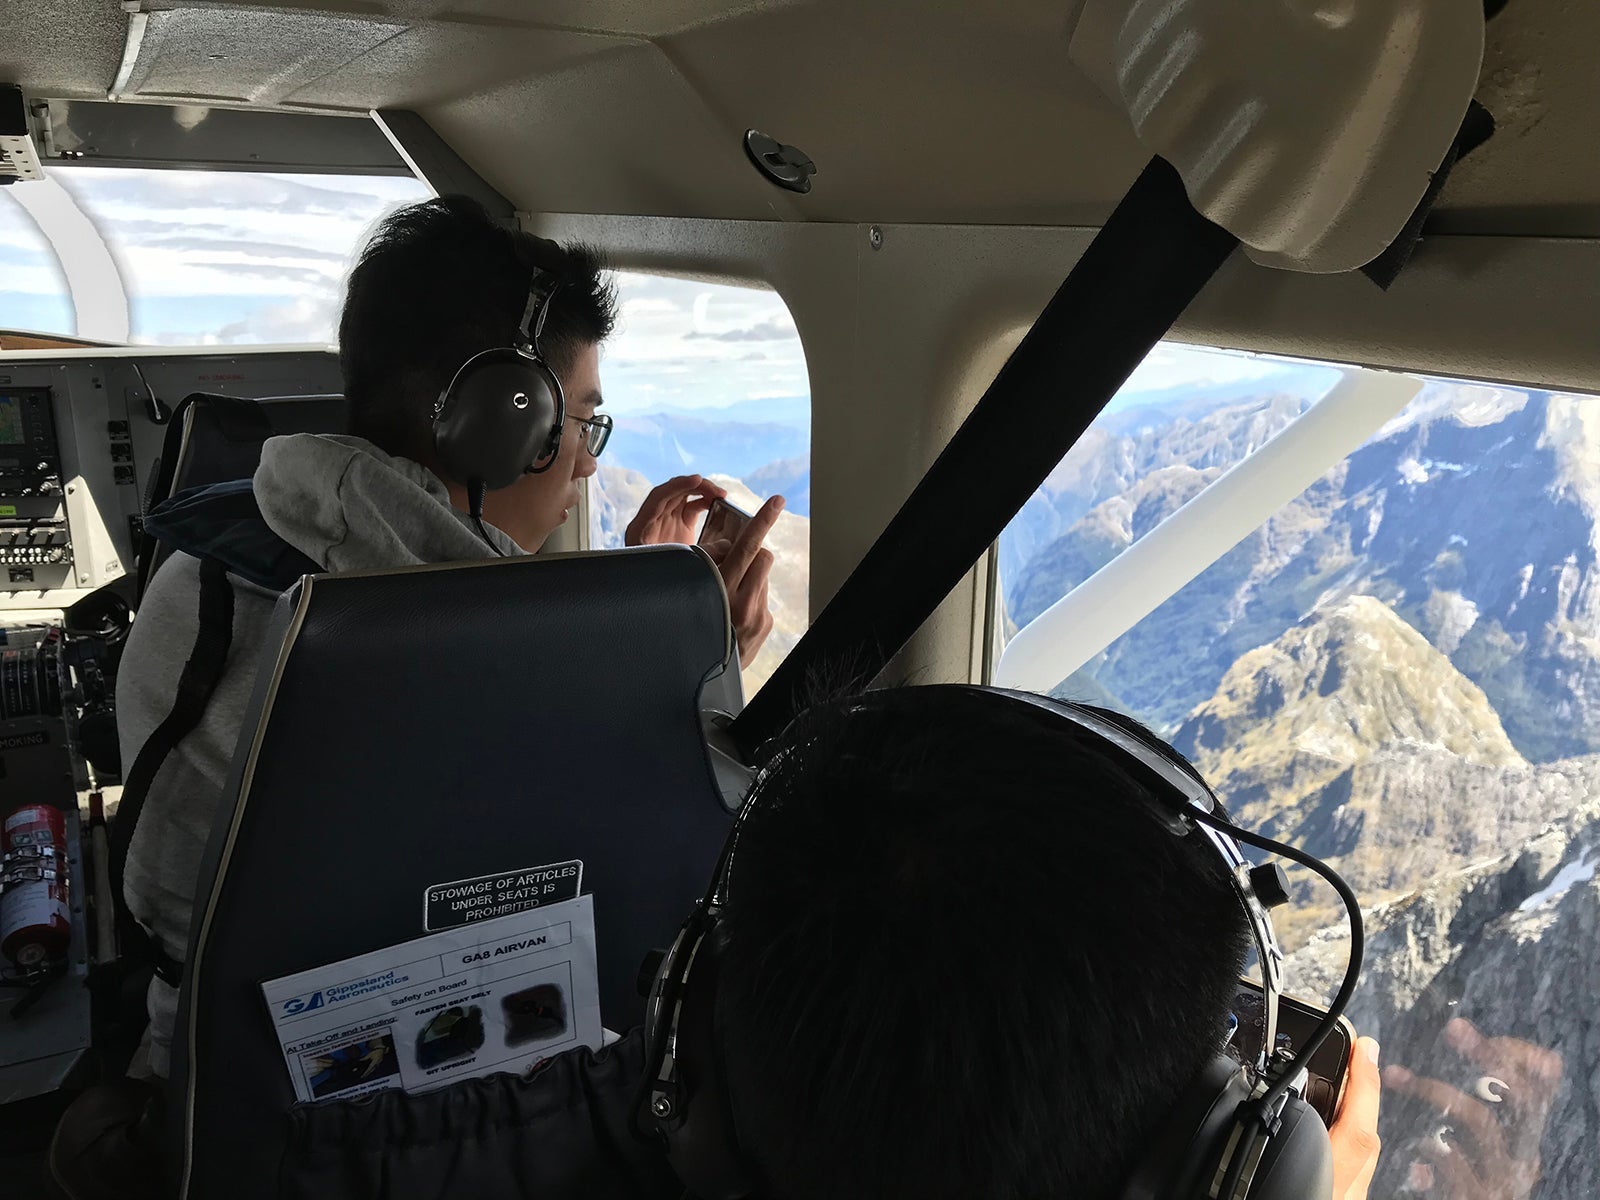
There's a lot of nuance involved in capturing excellent shots. Below is a quick checklist for optimal settings:
- Try to shoot at sunrise, sunset or with cloud cover (diffused lighting) to reduce excess shadows
- If possible, avoid having a part of your shot in broad daylight and another (including people) in shade
- During the day, you want light beaming onto a subject, not behind it, so bring sunglasses
- Do whatever you can to avoid using a flash — it makes your images look artificial
- Avoid framing faces at the extreme edge of the screen, as they're likely to appear warped or stretched
- Always take a lot of snaps when people are involved, giving yourself options to find ideal smiles and no blinks
- Tap on your subject on the screen to adjust the focus and lighting
- Hold your phone or camera steady to avoid blurring
- Leave a lot of buffer room on the edges of your photo, enabling you to use a single shot for multiple sharing platforms
- Make liberal use of your phone's panorama feature to capture cityscapes and landscapes, but hold it steady and pan slowly for optimal image quality

For those interested in putting in the time to take their smartphone photography to the next level, Austin Mann and David Molnar are acclaimed photographers offering online educational courses.
We've also rounded up the best iPhone lenses, but beware that these are easy to misplace.
Related: Credit cards with cellphone protection
Selfies and tripods
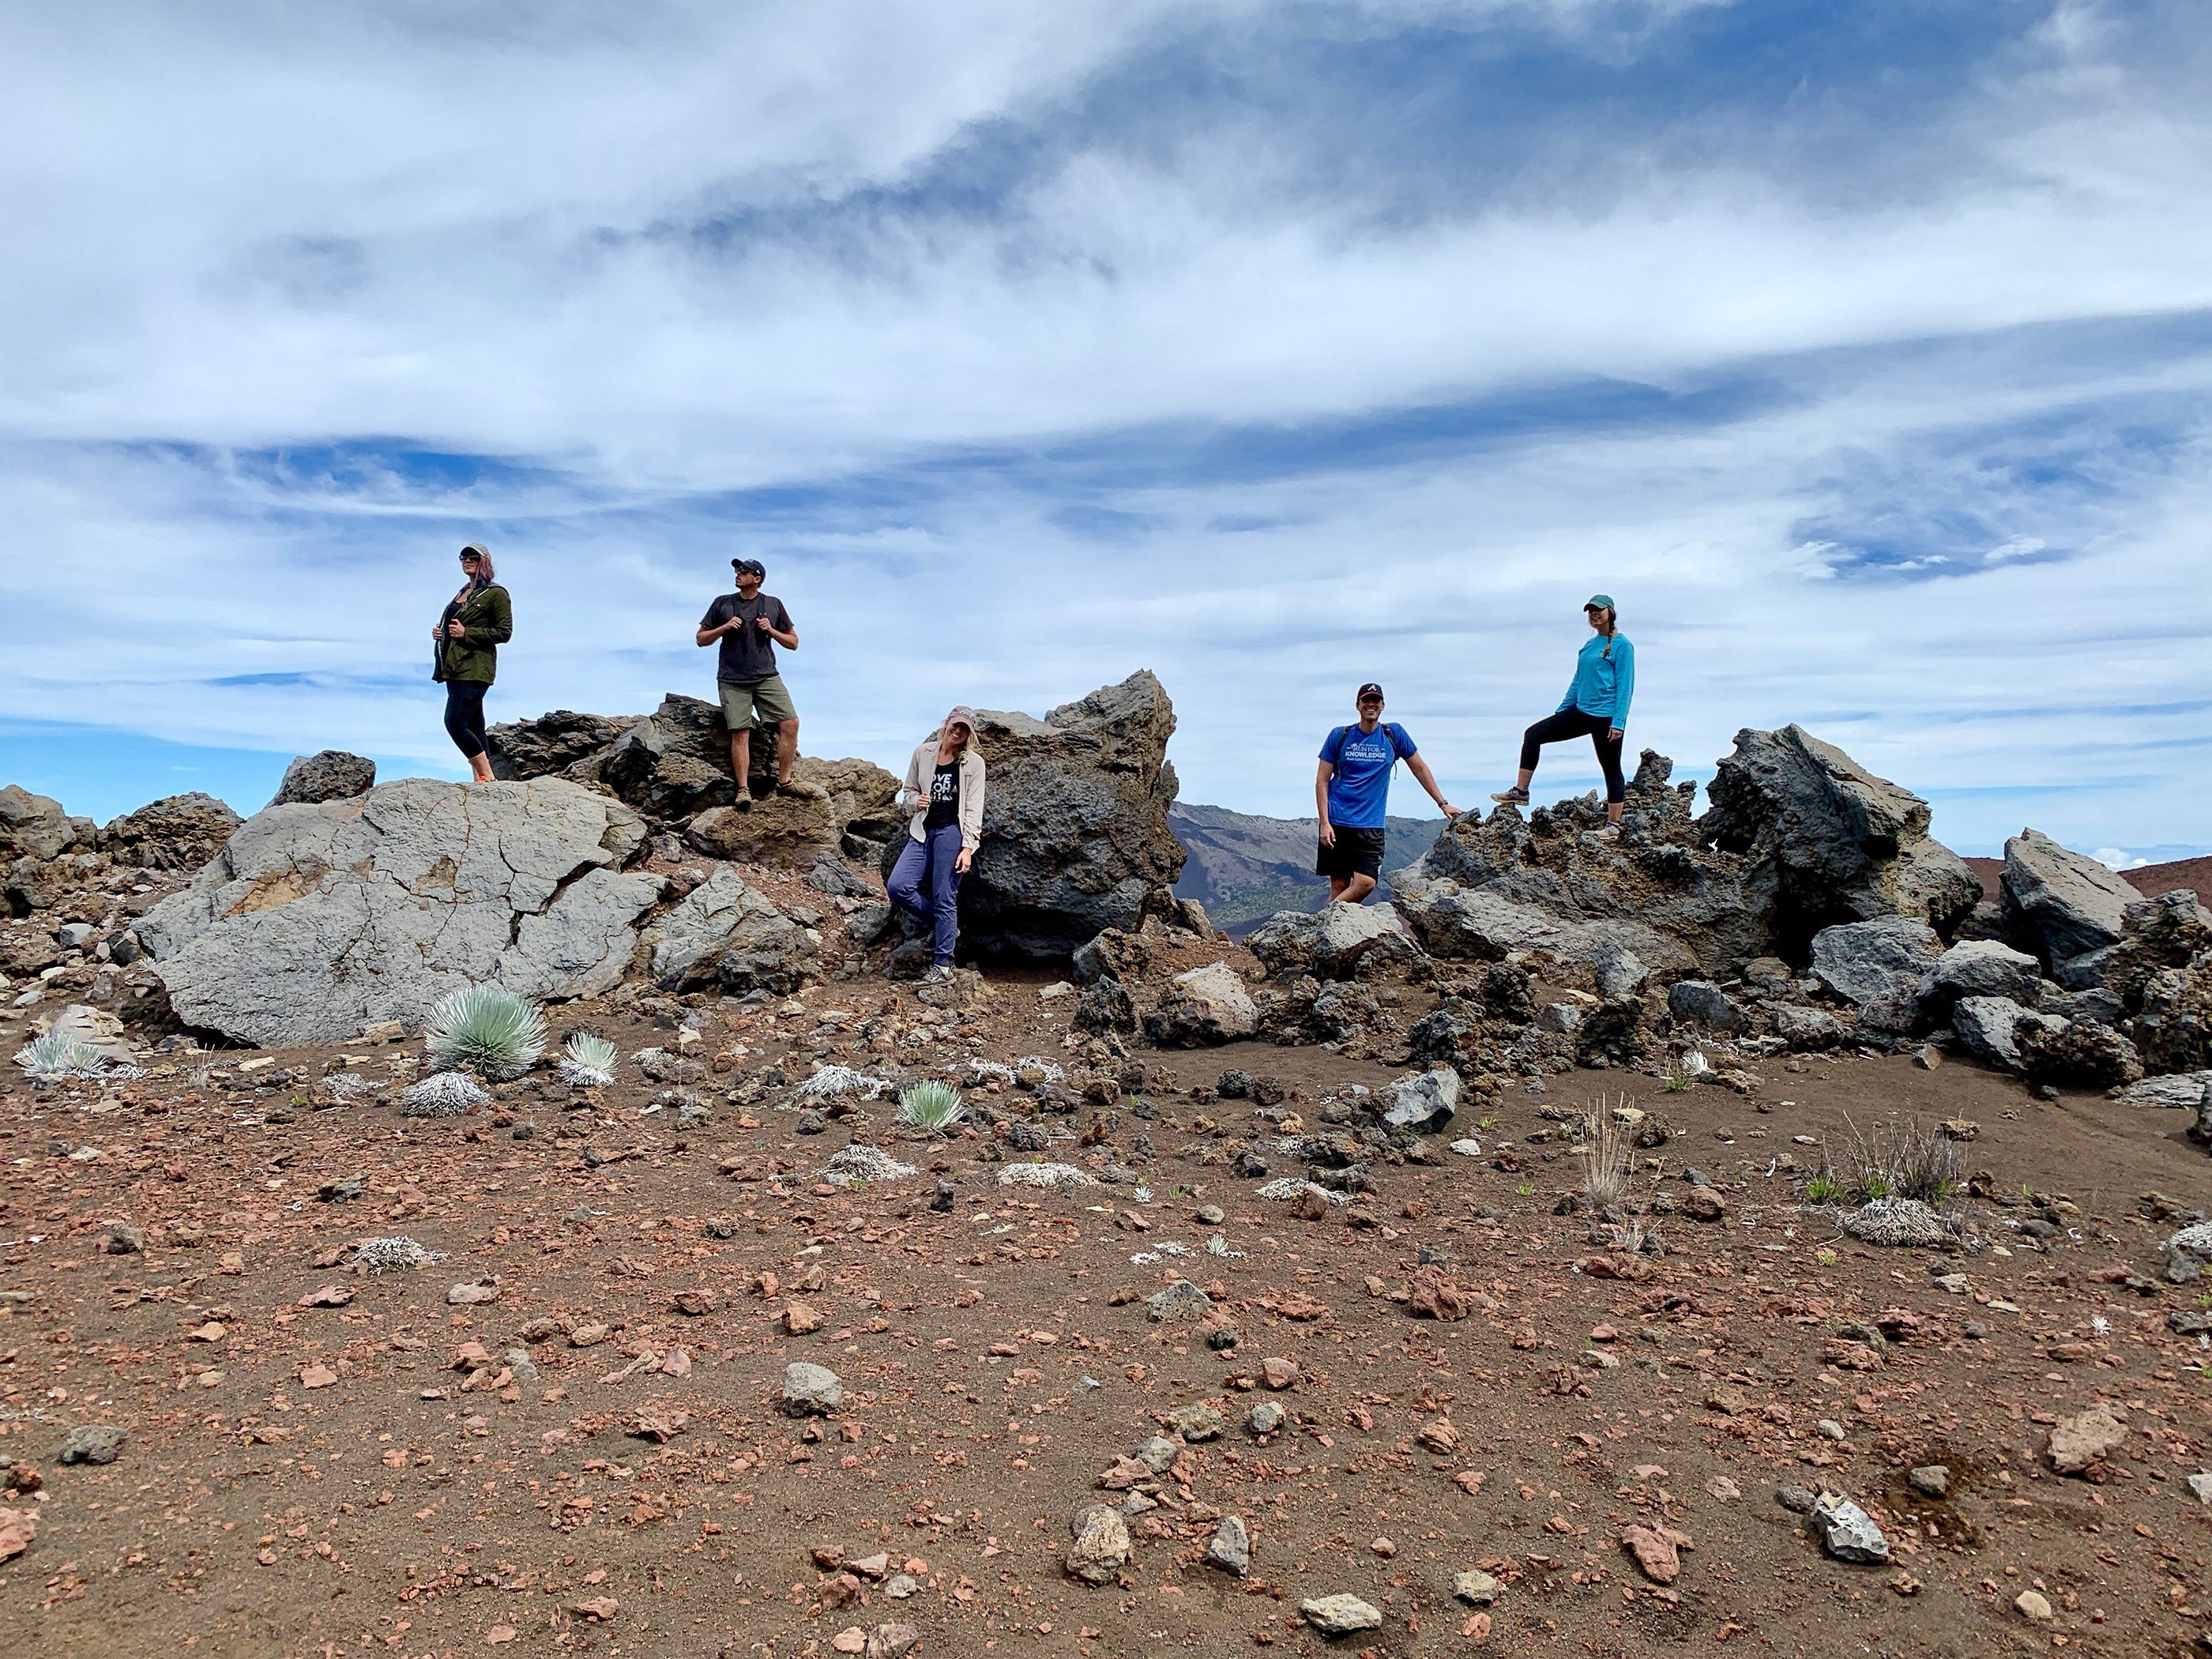
The selfie. A quintessential element of any vacation. Although most modern smartphones offer a front-facing camera embedded exclusively for this purpose, I never use the one on my iPhone. Why? Front-facing cameras are typically subpar. Your phone's rear-facing camera is likely higher quality, and if quality matters to you, you can work to master the art of the reach-around selfie.
There are also a host of compact, travel-friendly tripods and phone mounts to consider. My favorite is the Pedco UltraPod, paired with a basic phone mount, which is easily found on Amazon and other retailers. If you're using an iPhone and also own an Apple Watch, you can actually use the watch face as a viewfinder to make sure everyone is in the frame. You can then use your Apple Watch as a camera remote, either by tapping a button to trigger a timer countdown or telling Siri, "Take a picture." Apple has a guide on using Apple Watch as an iPhone camera remote.
Download the right photo-editing apps
I recommend that people don't go crazy with filters. It may feel fun in the moment, but outlandish filters rarely age well. Instead, I look to filters to correct my own capturing miscues, shaping the photo to match my memory of the moment. Your options are nearly limitless, but we've created a guide to the best apps for retouching and editing photos.
My personal favorite is VSCO, which is available for iPhone and Android. The free version is OK, but the $20 per year upgrade is well worth it. Plus, VSCO isn't just for editing. Photographers will like the manual camera options, which allow you to edit the shutter speed, white balance, focus and ISO before snapping. Small icons at the bottom of the editing screen are options for changing the color, sharpness, exposure and more to photos either snapped within the app or with your regular phone camera.
Backup, archive and storage
One beautiful thing about living in the age of the internet is the availability of cheap storage. Your most precious memories can now easily be saved forever, and that's especially true for camera-phone images. My favorite app is Google Photos, which allows iPhone and Android users to back up every phone photo and video they've ever taken to the cloud for safekeeping.
The free and unlimited backup-option limits the resolution of stored photos (16MP) and videos (1080p), but that's robust enough for most. It only takes one destroyed phone to appreciate the luxury of having everything automatically backed up.
Check out our full guide to useful apps for storing and organizing travel photos.
Mirrorless and DSLR cameras
Although phone cameras are good enough for the vast majority of travelers, the advent of the mirrorless camera has opened up another alluring option. It wasn't long ago that travelers were faced with a one-extreme-or-the-other scenario: either shoot their entire vacation on a phone or lug around a hefty DSLR with multiple lenses.
Now, there's a solid in-between option. The mirrorless class of camera offers image quality that far surpasses a smartphone, particularly in low light or when capturing fast movement (e.g., kids). It also offers fine-tuning when it comes to things like aperture, ISO, shutter speed, white balance, etc. Sony's mirrorless cameras are widely regarded as best-in-class.
I prefer a full-frame DSLR, but that may have something to do with my justification — I simply tell myself that 10 extra pounds of camera and lenses means that I'm getting an even bigger workout from whatever hike I'm planning. The other reality is that I'm already invested in Nikon lenses, which are best used on a full-fledged Nikon DSLR. If you're already entrenched in a camera ecosystem, your wallet will thank you for not veering into some other brand. If you're just now diving into the DSLR world, spring for a full-frame DSLR (as opposed to a cropped-frame).
Related: The 7 best starter travel credit cards
Wielding an expensive camera isn't enough to guarantee excellent travel photos. You'll still want to mind all of the tips already mentioned, and you'll want to spend time shooting near your home in different lighting scenarios. This is the best way to learn what setting does what, and how to adjust them quickly. Nothing generates DSLR frustration like not knowing what knob does what, and thus losing "the shot" while traveling.
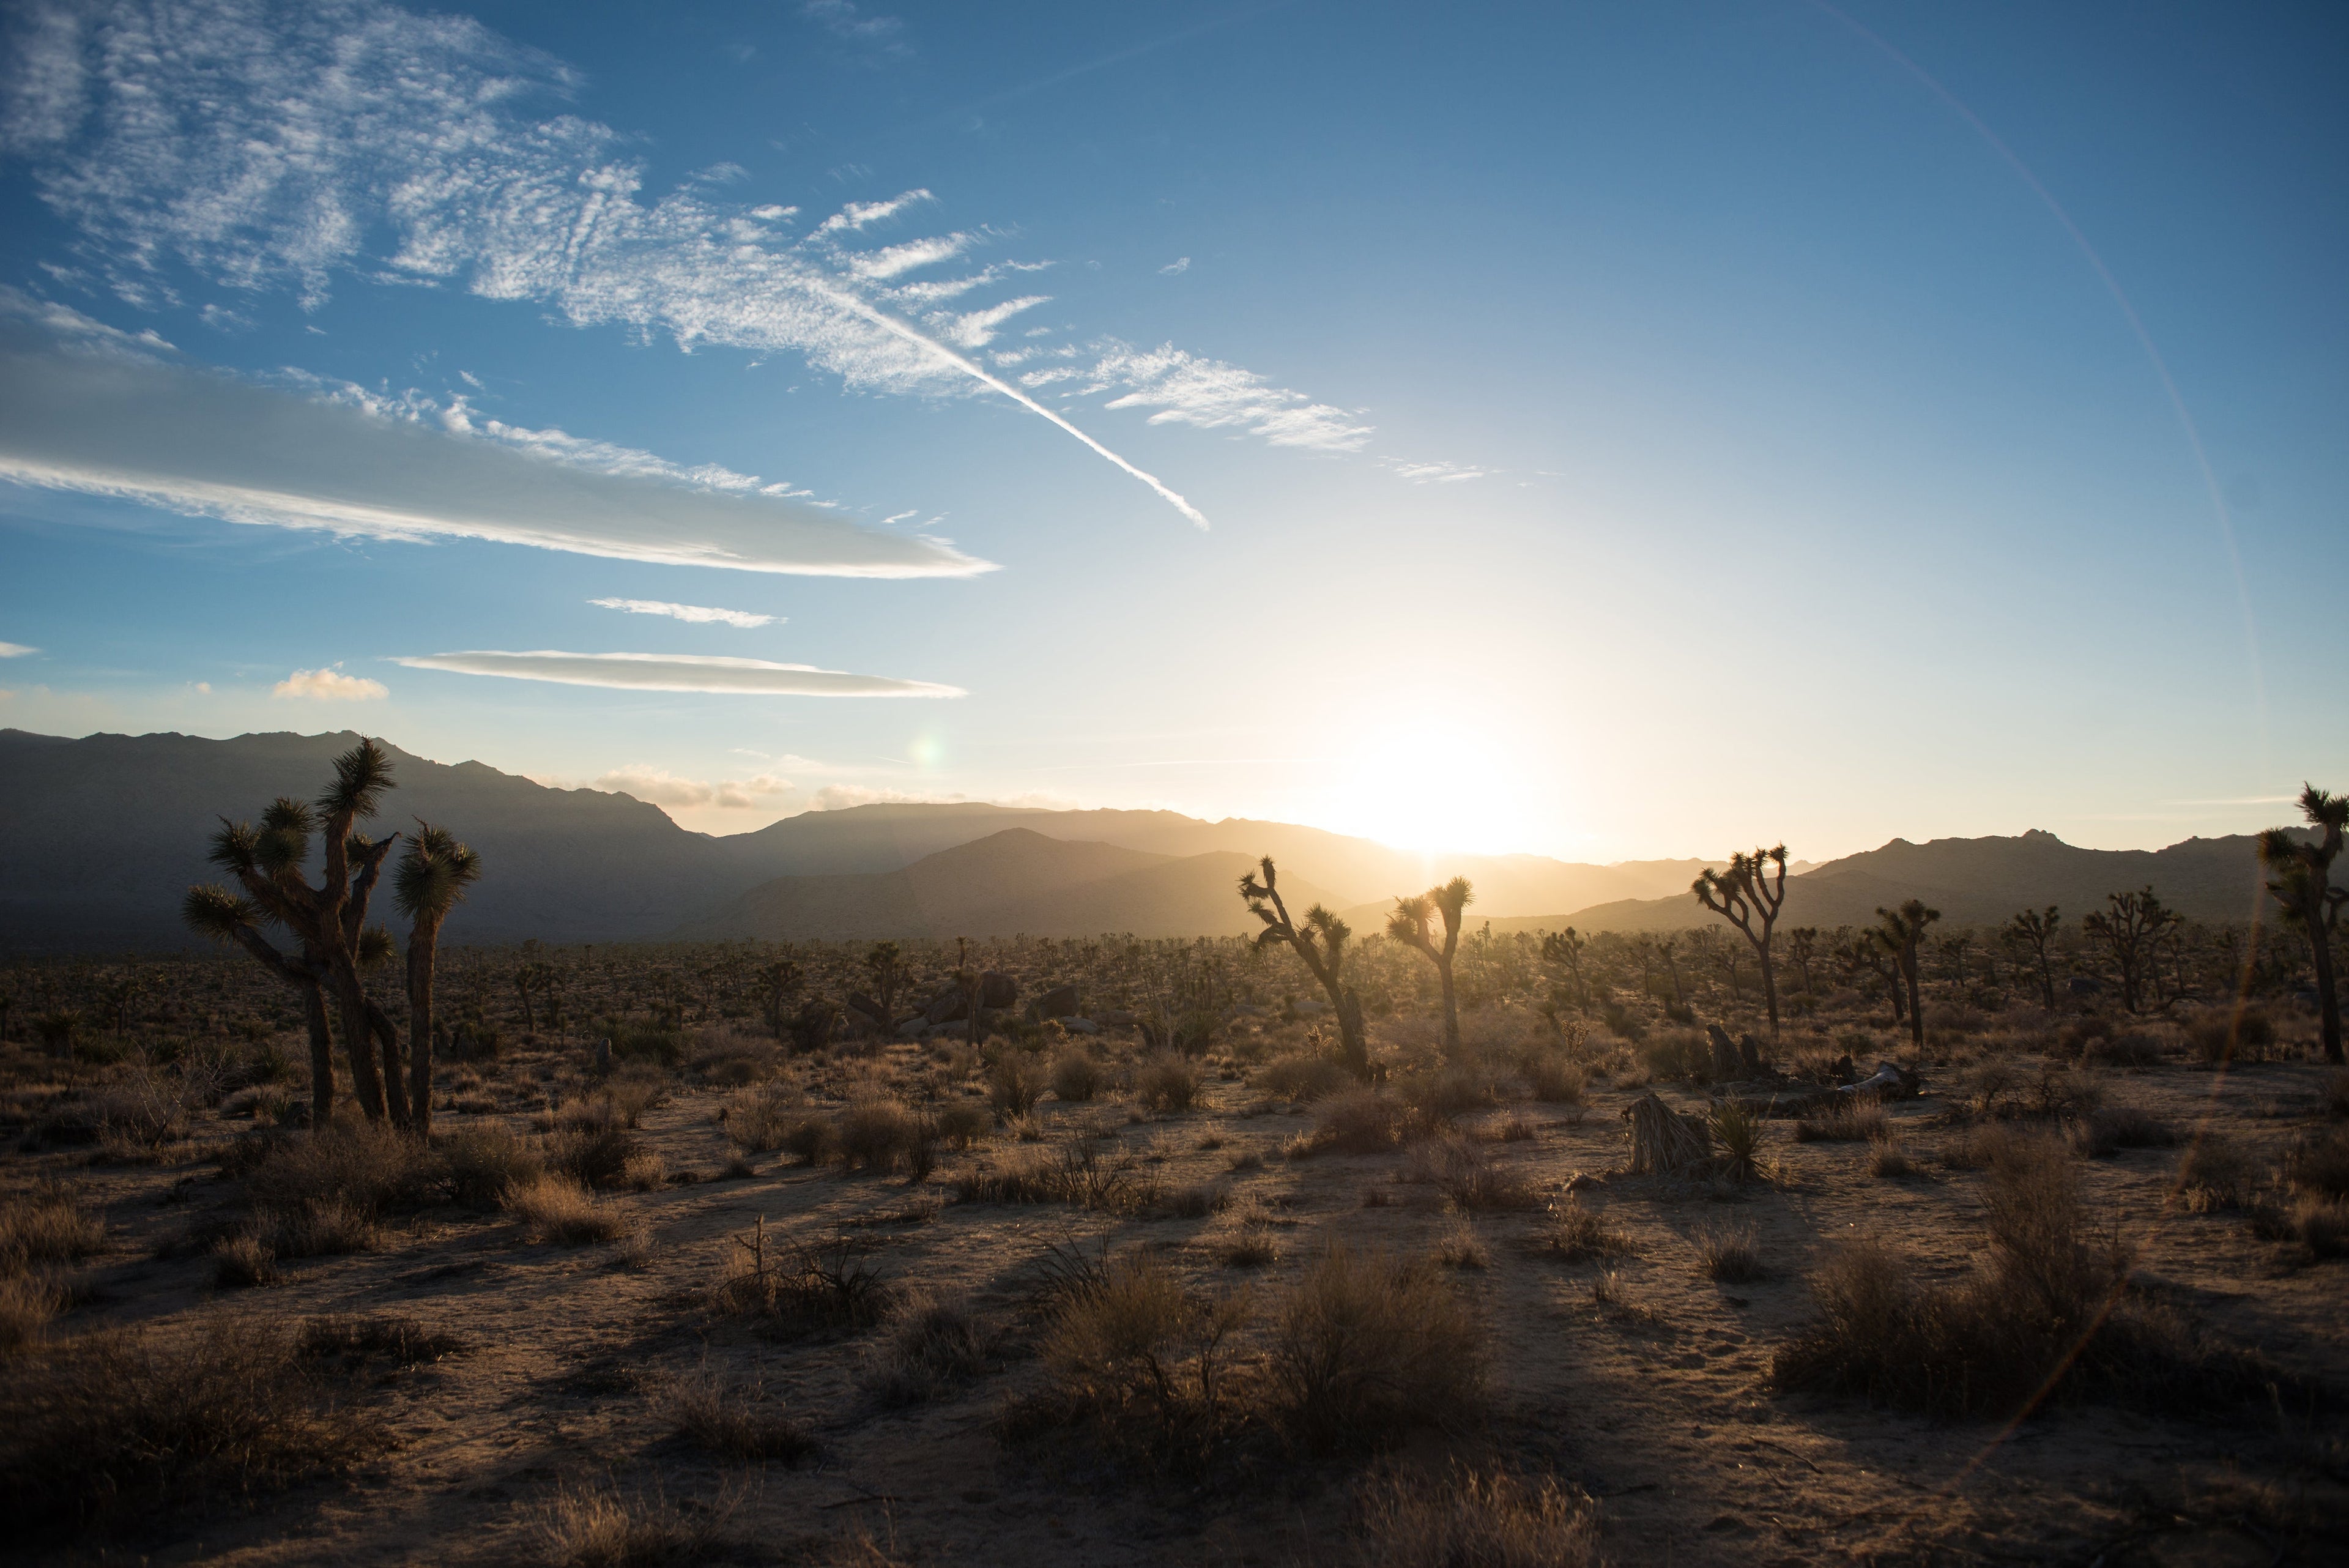
In the photo of Joshua Tree National Park above, we tweaked our Nikon DSLR settings so that we would not blow out the sky while over-exposing the shot just enough to get a band of sun flare on the right. If you buy a DSLR with an automatic setting and lean on that, you'll very rarely capture shots like these. If you invest in top-tier camera gear, make sure you invest in learning. I strongly recommend the guides at SLR Lounge.
Hire (or bring) a professional
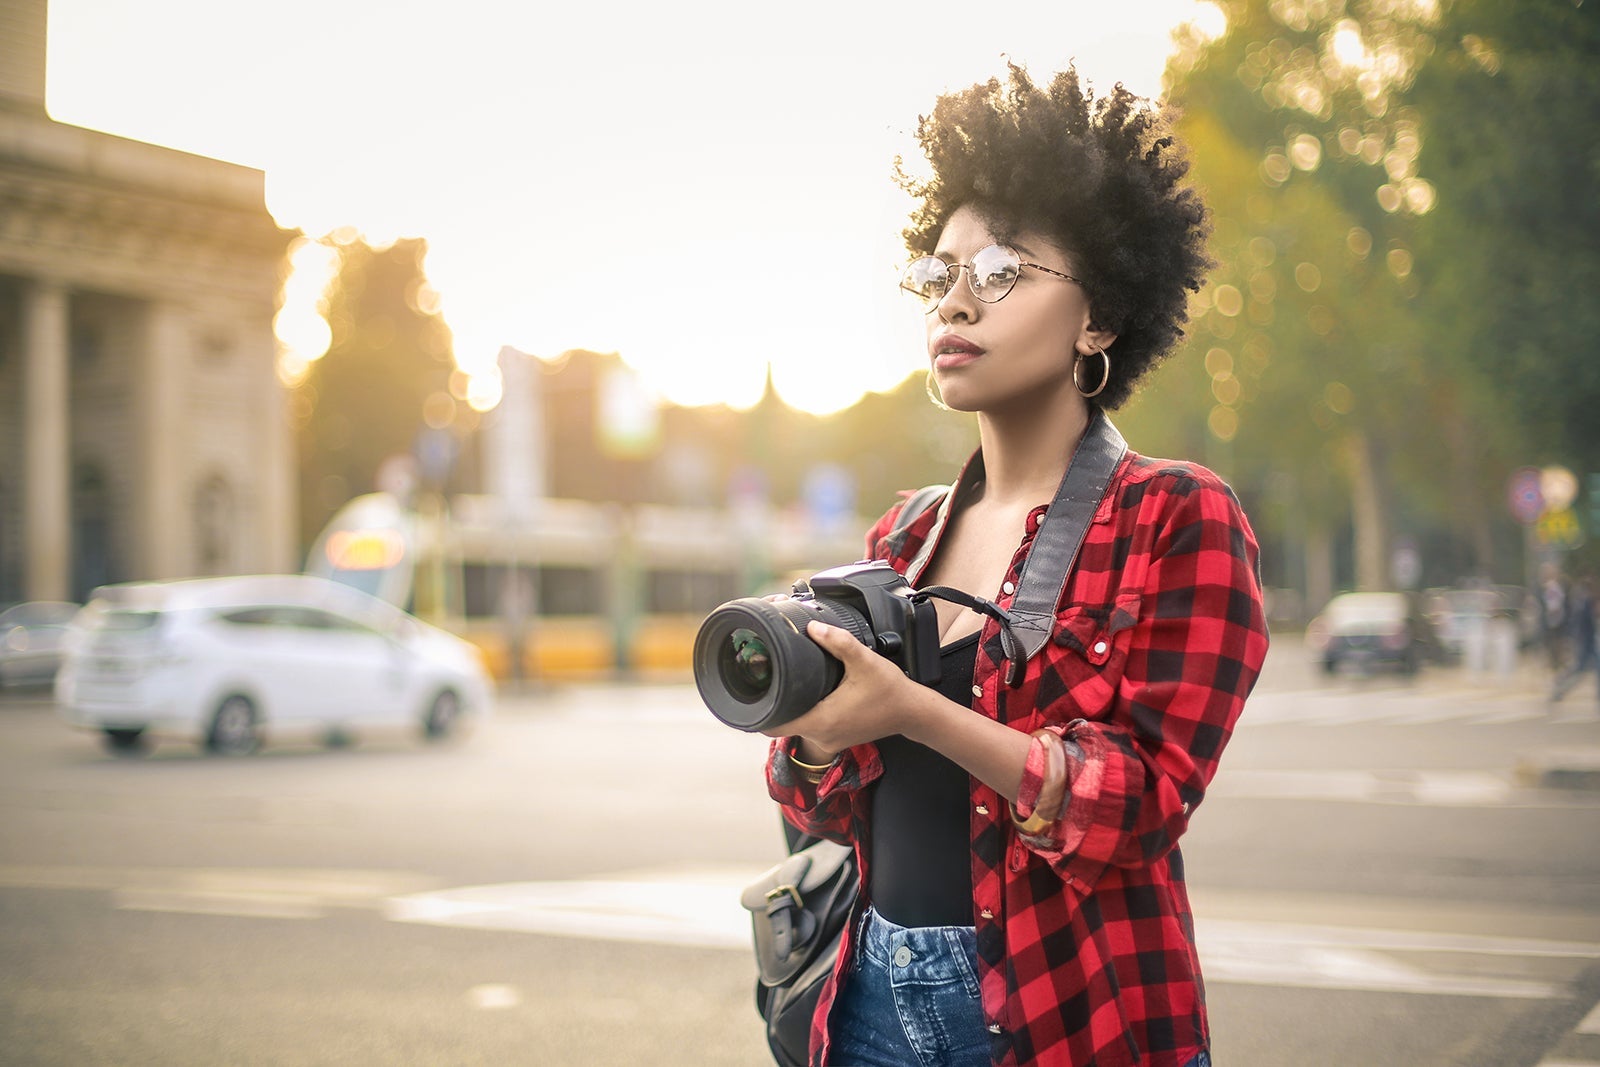
If you're going on a special family trip, you'll quickly realize that it's tough to get everyone in a shot that you're proud of. If you want album-worthy captures, check out Craigslist or photography forums for professionals at your destination. Googling "Honolulu photographer," for instance, will land you all sorts of local options, where you can reach out ahead of time and negotiate a rate for capturing your family during a window of time. The photography service Flytographer is also available to fill this niche, especially in popular destinations from $250 for a 30-minute shoot.
An option that may seem out-of-range, but that we've used is to use your points and miles to fly a photographer along with you. I've done this on many occasions, though it helps to have a sister-in-law who shoots professionally. If you know someone who you would enjoy traveling with, and they're willing to pull double duty as a photographer, trading a trip for lifelong memories may not be such a bad deal.
Have any other expert photography tips? Share them in the comments below!
TPG featured card
at Capital One's secure site
Terms & restrictions apply. See rates & fees.
| 5X miles | Earn 5X miles on hotels, vacation rentals and rental cars booked through Capital One Travel |
| 2X miles | Earn unlimited 2X miles on every purchase, every day |
Pros
- Stellar welcome offer of 75,000 miles after spending $4,000 on purchases in the first three months from account opening. Plus, a $250 Capital One Travel credit to use in your first cardholder year upon account opening.
- You'll earn 2 miles per dollar on every purchase, which means you won't have to worry about memorizing bonus categories
- Rewards are versatile and can be redeemed for a statement credit or transferred to Capital One’s transfer partners
Cons
- Highest bonus-earning categories only on travel booked via Capital One Travel
- LIMITED-TIME OFFER: Enjoy $250 to use on Capital One Travel in your first cardholder year, plus earn 75,000 bonus miles once you spend $4,000 on purchases within the first 3 months from account opening - that’s equal to $1,000 in travel
- Earn unlimited 2X miles on every purchase, every day
- Earn 5X miles on hotels, vacation rentals and rental cars booked through Capital One Travel
- Miles won't expire for the life of the account and there's no limit to how many you can earn
- Receive up to a $120 credit for Global Entry or TSA PreCheck®
- Use your miles to get reimbursed for any travel purchase—or redeem by booking a trip through Capital One Travel
- Enjoy a $50 experience credit and other premium benefits with every hotel and vacation rental booked from the Lifestyle Collection
- Transfer your miles to your choice of 15+ travel loyalty programs
- Top rated mobile app


