8 Things You Should Do Before Every International Trip


The Points & Miles Backpacker is a weekly column appearing every Monday. TPG Contributor Brian Biros, who has backpacked the globe for the past 15 years, discusses how to fund this adventurous, budgeted and increasingly popular form of travel with points and miles. He'll also explore all things backpacking-related. Read his story here and his high-level approach here.
With our smartphones, there aren't many things we need to prepare for in advance anymore. You can look up directions when you're already on your way, hail a ride from anywhere and pay for your coffee with (you guessed it) your phone.
But flying internationally is one of the few times you still really need to prepare — especially if your destination is one that isn't as connected and tech-driven as the US. When you touch down and turn on your phone, the information super highway may suddenly take a detour.
That's why I always use this last minute checklist before I travel abroad. Many of these items can be done quickly the day you depart and, most importantly, will help keep you safe and connected during your travels.
1. Download Offline Maps
Regardless of whether or not you'll have cell coverage, always download offline maps for your destination. In Google Maps, simply view the location you'd like to download, then select "Offline Maps" from the menu. There, you can choose to "download an offline map" and highlight the area you'd like to save. Many travelers swear by Maps.Me (available on desktop and as an app), which is especially great for hiking. Other map programs specialize in specific regions, such as 2GIS for Russia and Central Asia.

2. Plan Your Transfer
Don't let things go wrong the second you land, because plenty of people profit from overcharging — or even stealing from — new arrivals.
Ideally, your hotel or home stay arranges free transfers for guests. Be sure to inquire at the time of booking and, if available, ensure that the driver has your flight information and your name. If possible, get the driver's name, too. If the driver is only holding a sign with the name of the hotel or inn, ask them to confirm your name. On my first trip to Nepal, I saw a man holding a sign that said "Kathmandu Guesthouse" as I exited the airport. I began walking with him to his car, when he informed me that Kathmandu Guesthouse was full and he'd have to take me to an alternate accommodation. I calmly took my bags back from him and returned to baggage claim to find the real transfer.
If you're traveling light and don't mind trains or buses, map out the route beforehand because some offline maps don't include public transit directions. If detailed directions weren't provided by your hostel, hotel or inn, always ask.
When free or public transit options aren't available, you can always arrange a paid transfer beforehand, which will save you a lot of headache. Just be sure to compare this cost to what an Uber (or similar rideshare service) would cost. Before you count on an app, of course, make sure your arrival airport has a reliable Wi-Fi network. Also, some countries use other ridesharing apps, such as Gett in Israel or Grab in Southeast Asia. Research what locals use beforehand, and have the apps downloaded before departure if you plan to use them.

Sadly, you're more likely to get ripped off in a taxi than any other method of transportation, which is why it's typically my last resort. To make sure you don't, ask your accommodation how much the taxi fare should be. If available, take an official airport taxi (follow signs, not touts). Be sure to confirm the fare with the driver before getting in the car, and if it's metered, mention the approximate amount you know it should cost. Follow along on your offline map to make sure you don't end up on the, er, scenic route.
3. Set Travel Alerts
When a bank or credit card company sees a transaction outside of the US, it may get declined for potential fraud, and that always seems to happen at the most inconvenient times. Play it safe and take a few minutes to call the number on the back of your cards, notifying them of the countries you'll be visiting and the dates you'll be traveling. Many companies make it possible to set travel notifications online or through an app, making the process even simpler. And as always, use credit cards and ATM cards that won't charge you a foreign transaction fee.
4. Note the Exchange Rate
Cash still rules much of the world, so you'll want to hit an ATM in the airport when you land. But do you want to take out 10,000 Kazakh Tenge or 100,000 Kazakh Tenge? Know the exchange rate before you land so you have an idea of how much money you'll be taking out of your account (and how much you'll likely need). I use the XE currency app, too, already loaded with the currencies of the countries I'm visiting. For other tips on how to deal with unfamiliar currencies abroad, see this guide.
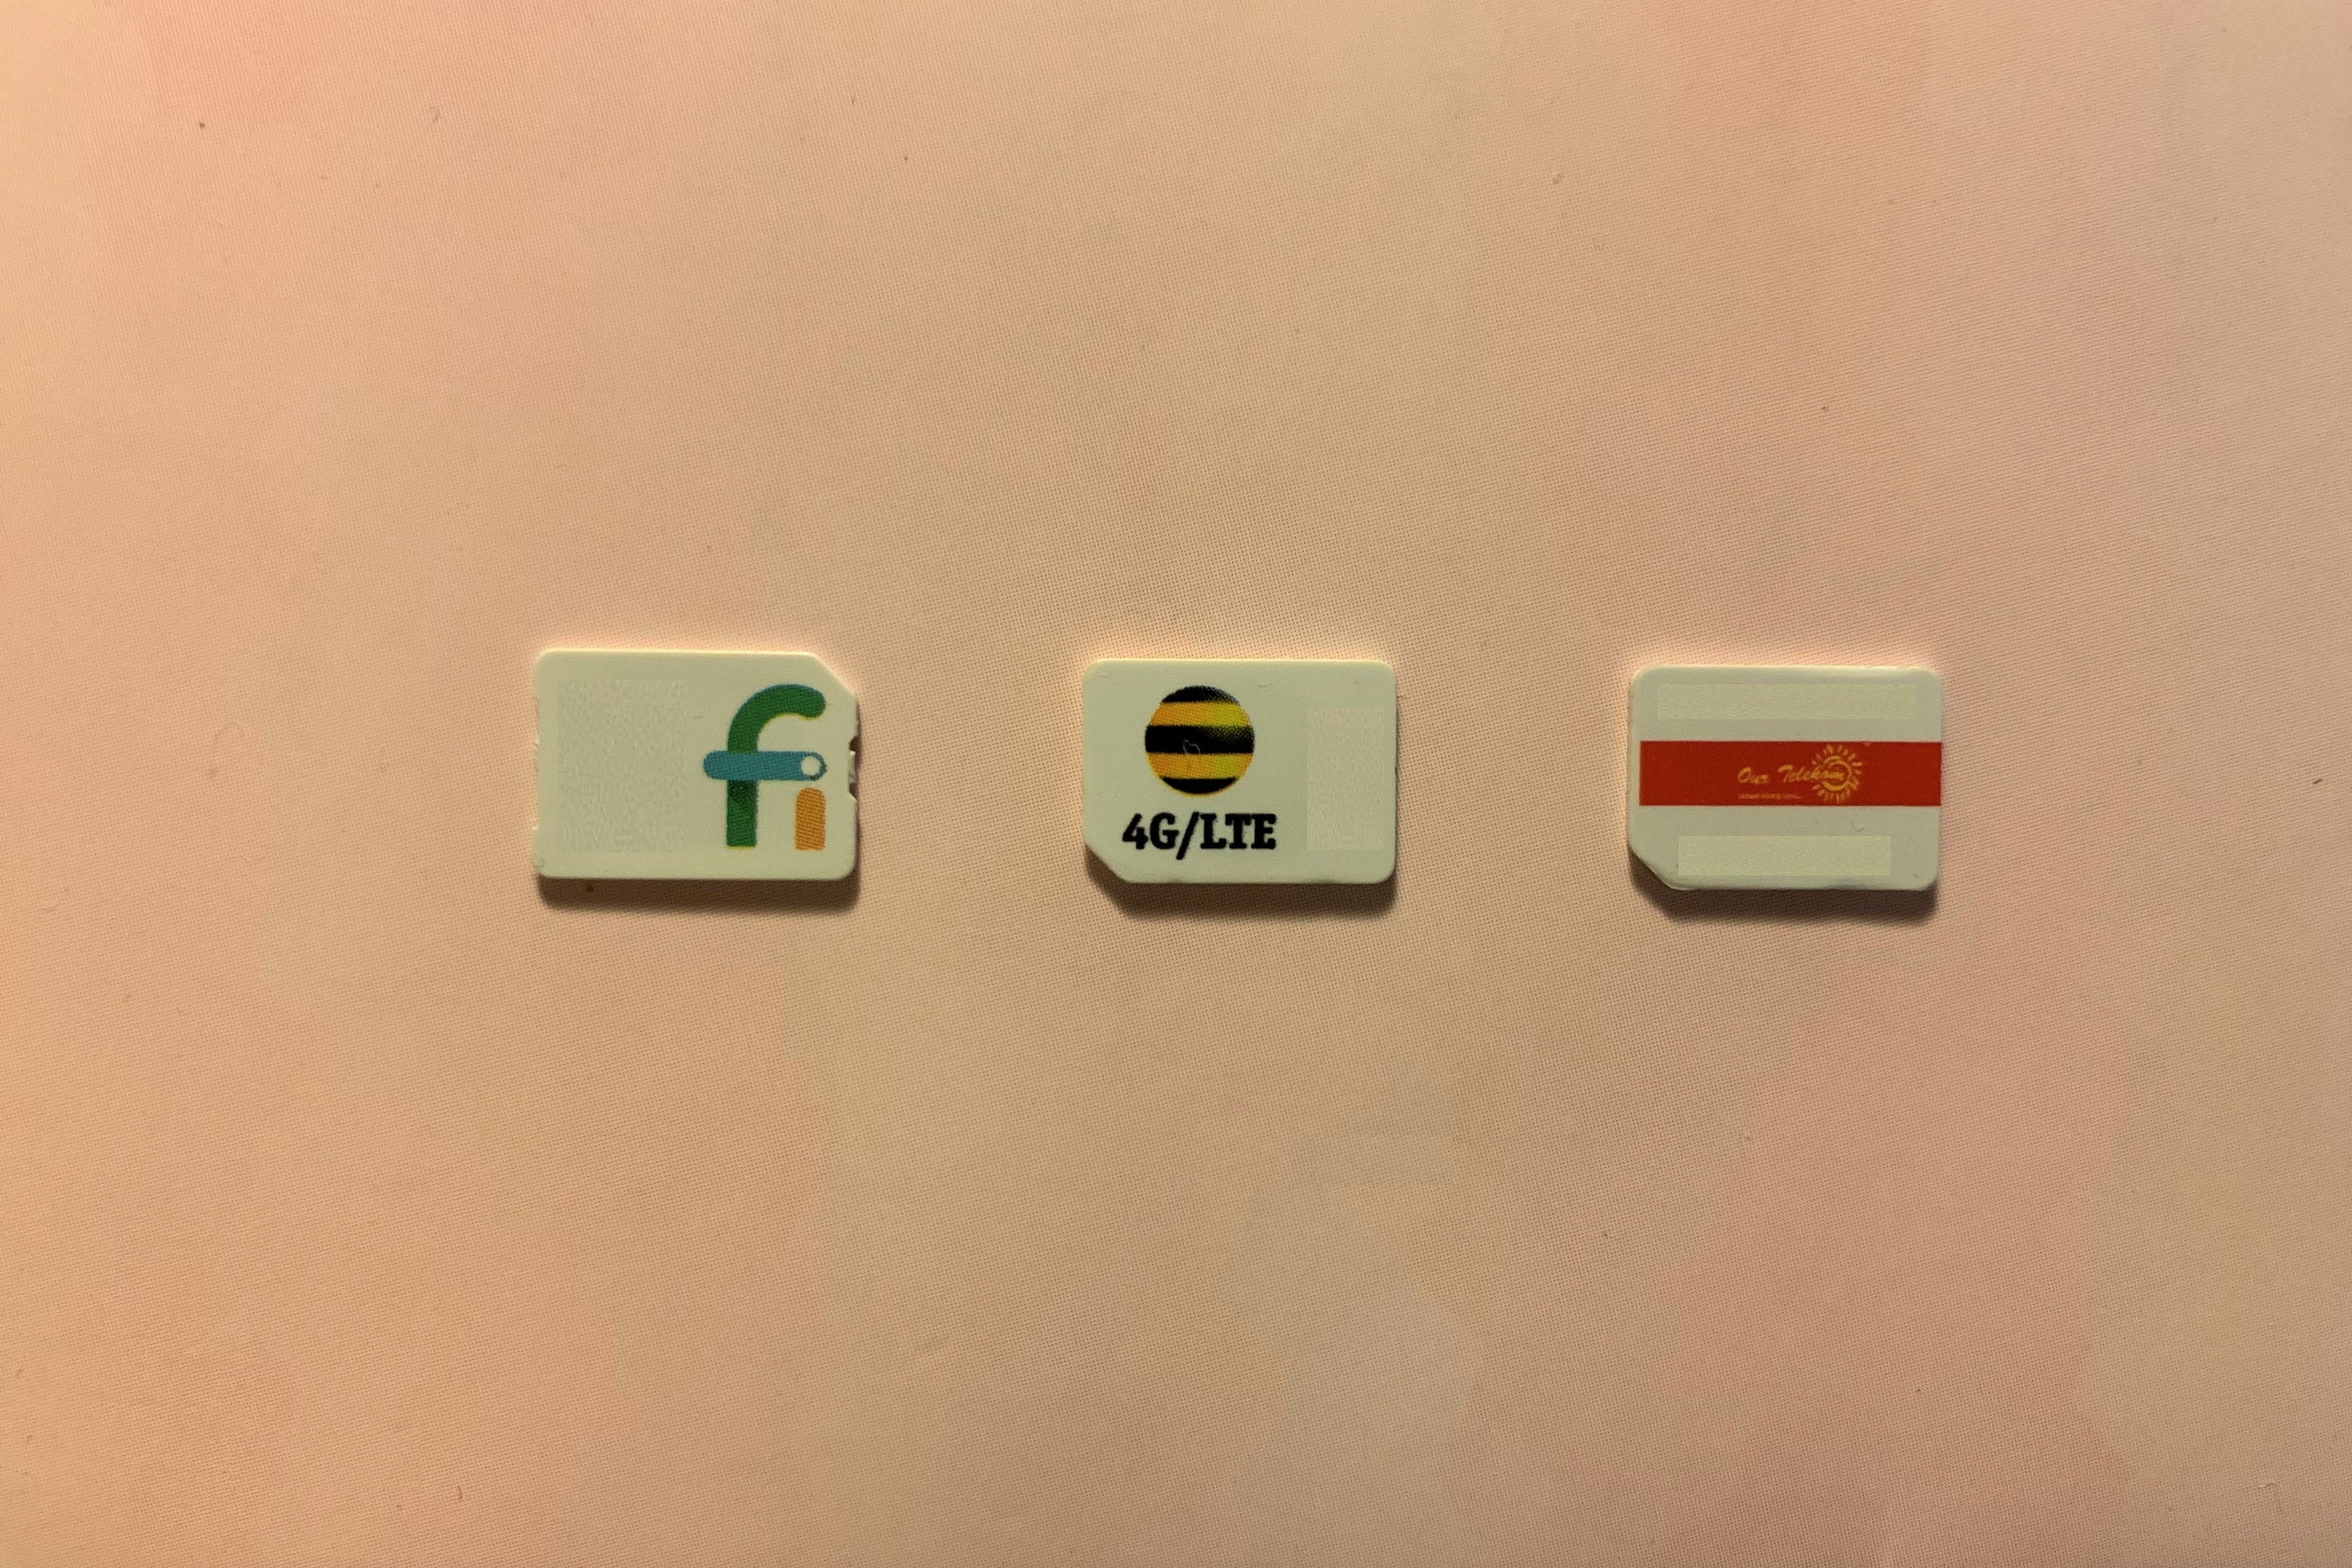
5. Check Cell Phone Coverage
Depending on your cell phone provider, plan and destination, you may be covered internationally. Some providers promise pretty much global coverage, but don't let their stat padding fool you: There are still plenty of countries that are not covered. On my recent Pacific Islands trip, neither New Caledonia nor the Solomon Islands were covered in my Google Fi plan. You'll need to check each destination individually. We have a comprehensive guide to international smartphone use, but each provider has its general strengths and weaknesses.
Google Fi is my favorite option for international coverage. They are the only provider that offers high-speed international data as part of their regular plan, which is $10 per GB. This page tells you which countries are covered. T-Mobile claims to have 210-plus countries covered. You can see which countries are covered here. However, the data speeds are capped at 2G, which these days is frustrating and sometimes unusable. You can, however, upgrade to faster plans, and full speed data is free in Mexico and Canada. Sprint mimics T-Mobile's free 2G international offering, but full speed data elsewhere in North America costs a premium — as does the rest of the world. Their coverage list is here. And depending on your plan, both AT&T and Verizon users may be eligible for unlimited calls and texts abroad for $5 to $10 a day, per line. Because coverage (and rates) can vary wildly depending on your personal cell plan, always call your provider about your options. Making a mistake could result in a rude surprise come bill time.
For any trip of more than a few days, picking up a local SIM card can save you money (or a headache, if you're dealing with 2G speeds). Pack an unlocked phone if you plan to purchase local SIMs. I have an old unlocked phone that I use with my Google Fi SIM card, and I can make that a hotspot to use my locked iPhone. It's not the most efficient or ideal solution, but it works if you're handcuffed to a locked phone payment plan like me.
6. Upload Copies of Your Documents
Emailing a picture of your passport and visas to yourself and any travel buddies could prove useful if you get in a bind. I also keep these pictures, along with pictures of my credit cards, in a password-protected app on my smartphone. Make paper copies of your passport and visas as well. Keep one set with you, on your person, at all times and another set stashed safely in your luggage or hotel safe.
7. Register for STEP
The Smart Traveler Enrollment Program (STEP) was created by the US Department of State to notify local embassies about your travel plans. This way, you will be contacted in case of an emergency or security advisory in your destination. It's free and easy to register. Though you may not need to enroll every time you leave the country, this is a step you don't want to skip if you're traveling to a destination that's a candidate for political instability or civil unrest; you're traveling to a country for a major event that could be targeted; or you have some other specific concern about your personal safety.
8. Charge Your Electronics
Make sure you charge everything — phones, computers, tablets, power banks, cameras, spare batteries, shavers, headlamps — before catching your next international flight.
Of course, a last minute charge is also a good way to leave some of these electronics behind, so leave your suitcase open and next to your devices while they're charging.
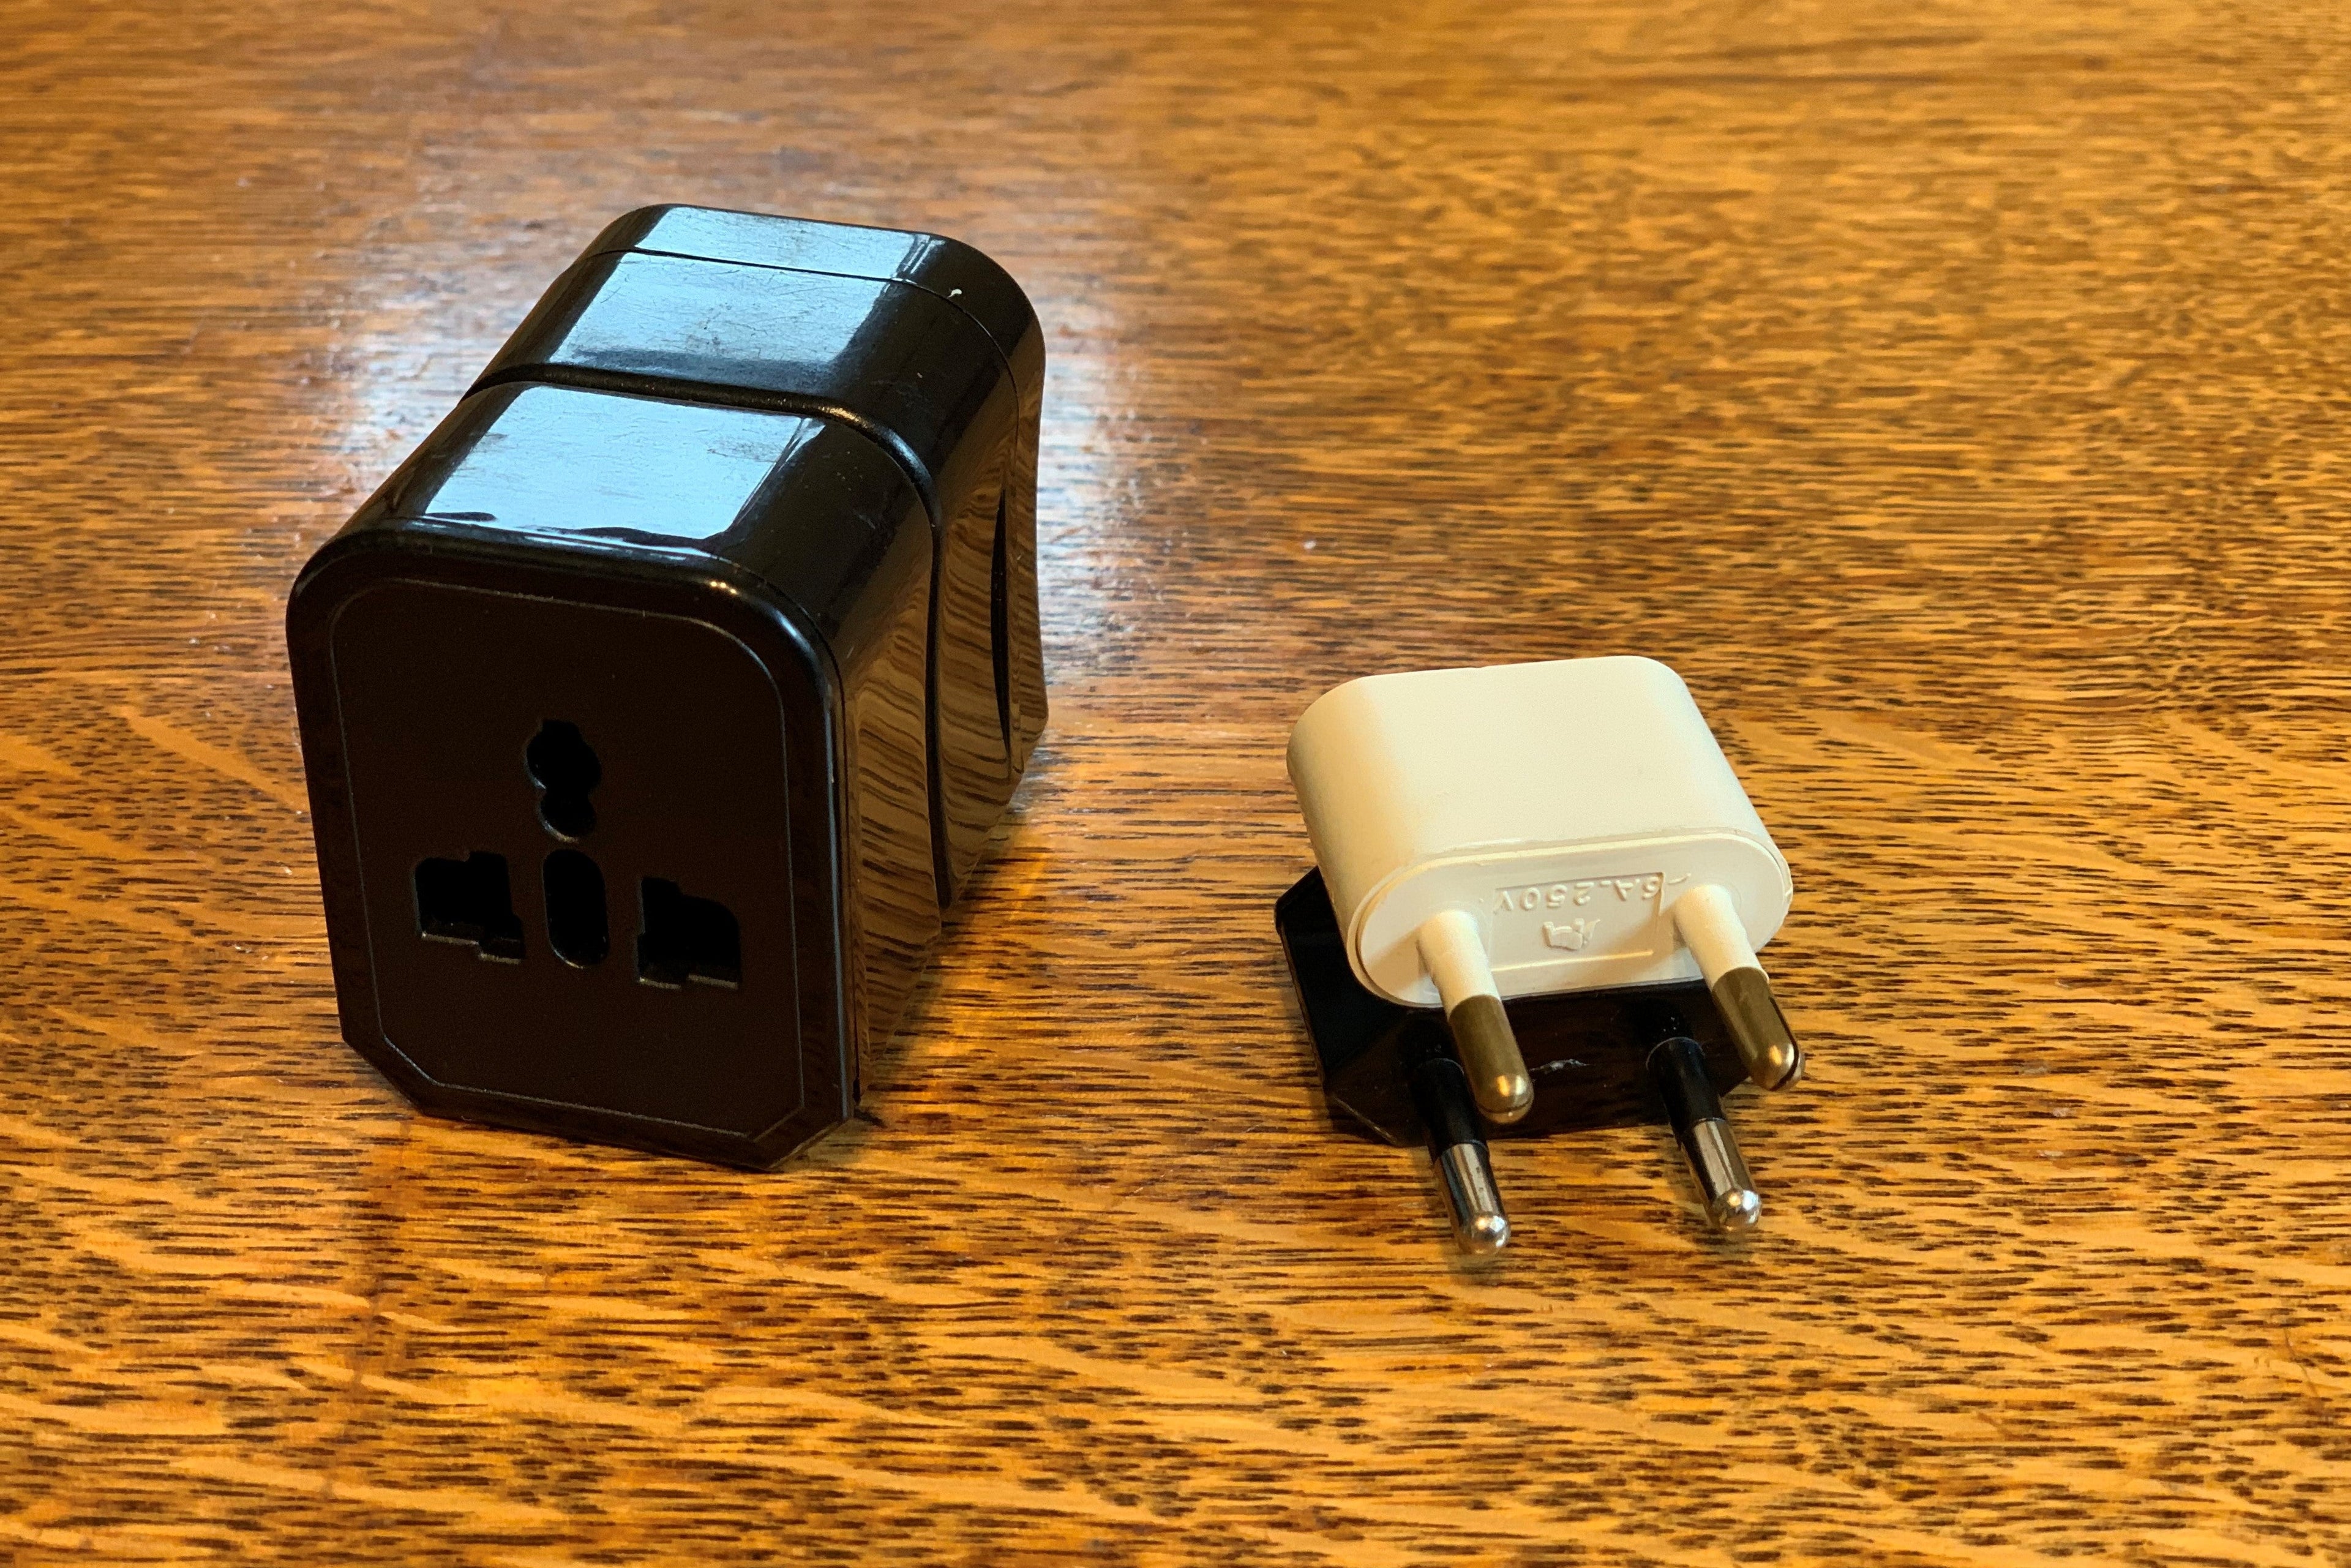
Though voltage converters are rarely needed any more, as most electronics either charge via USB or can handle a voltage input from 110 to 240 volts, you will likely need a plug adapter. And you'll probably want more than one. A universal adapter is handy, but if you know you'll only need one plug type, you may want to get a couple of those smaller, specific adapters instead.
If you're looking to back that pack up and get some guidance, send your questions to backpacker@thepointsguy.com!
TPG featured card

at American Express's secure site
Terms & restrictions apply. See rates & fees.
| 4X | Earn 4X Membership Rewards® points per dollar spent on purchases at restaurants worldwide, on up to $50,000 in purchases per calendar year, then 1X points for the rest of the year. |
| 4X | Earn 4X Membership Rewards® points per dollar spent at US supermarkets, on up to $25,000 in purchases per calendar year, then 1X points for the rest of the year. |
| 5X | New! Earn 5X Membership Rewards® points on prepaid hotel stays booked through AmexTravel.com or the Amex Travel App. |
| 3X | Earn 3X Membership Rewards® points on flights booked through AmexTravel.com, the Amex Travel App, or purchased directly from airlines. |
| 2X | Earn 2X Membership Rewards® points on prepaid car rentals booked through AmexTravel.com or the Amex Travel App and cruises booked and paid through AmexTravel.com. |
| 1X | Earn 1X Membership Rewards® point per dollar spent on all other eligible purchases. |
Pros
- Valuable dining and food-related credits
- Flexible rewards with airline and hotel transfer partners
- Multiple travel and purchase protections
- No foreign transaction fees
- Access to Amex Offers for additional savings (enrollment required)
Cons
- Not as useful for those living outside the U.S.
- Some may have trouble using Uber and other dining credits
- You may be eligible for as high as 100,000 Membership Rewards® Points after you spend $8,000 in eligible purchases on your new Card in your first 6 months of Card Membership. Welcome offers vary and you may not be eligible for an offer. Apply to know if you’re approved and find out your exact welcome offer amount – all with no credit score impact. If you’re approved and choose to accept the Card, your score may be impacted.
- Earn 4X Membership Rewards® points per dollar spent on purchases at restaurants worldwide, on up to $50,000 in purchases per calendar year, then 1X points for the rest of the year.
- Earn 4X Membership Rewards® points per dollar spent at US supermarkets, on up to $25,000 in purchases per calendar year, then 1X points for the rest of the year.
- New! Earn 5X Membership Rewards® points on prepaid hotel stays booked through AmexTravel.com or the Amex Travel App.
- Earn 3X Membership Rewards® points on flights booked through AmexTravel.com, the Amex Travel App, or purchased directly from airlines.
- Earn 2X Membership Rewards® points on prepaid car rentals booked through AmexTravel.com or the Amex Travel App and cruises booked and paid through AmexTravel.com.
- Earn 1X Membership Rewards® point per dollar spent on all other eligible purchases.
- Pay It® lets you tap in the American Express® App to quickly pay for small purchase amounts throughout the month and still earn rewards the way you usually do. Plan It® gives you the option to split up big purchases into equal monthly payments with a fixed fee. You’ll know upfront exactly how much you’ll pay.
- Updated! $120 Dining Credit: Earn up to a total of $10 in statement credits monthly when you pay with the Gold Card at Grubhub (including Seamless), Buffalo Wild Wings, Five Guys, The Cheesecake Factory, and Wonder. This can be an annual savings of up to $120. Enrollment required.
- $100 Resy Credit: Get up to $100 in statement credits each calendar year at over 10,000 qualifying U.S. Resy restaurants after you pay for eligible purchases with the American Express® Gold Card. That’s up to $50 in statement credits semi-annually. Enrollment required.
- $84 Dunkin' Credit: Earn up to $7 in monthly statement credits after you pay with the American Express® Gold Card at U.S. Dunkin’ locations. Enrollment required.
- $120 Uber Cash on Gold: Enjoy up to $120 in Uber Cash annually with your Gold Card. Just add your Card to your Uber account and you'll get $10 in Uber Cash each month to use on orders and rides in the U.S. when you select an Amex Card for your transaction.
- New! As an American Express® Gold Card Member, you can enjoy complimentary Hertz Five Star® Status. Enjoy benefits like skipping the counter at select locations, adding an additional driver at no additional cost*, and vehicle upgrades**. Benefit enrollment and Hertz Gold+ registration are required. *Additional drivers must meet standard rental qualifications and must be a spouse or domestic partner to qualify as complimentary. Other additional drivers subject to fees. **Benefits are subject to availability and vary by location. Additional Hertz program Terms and Conditions including age restrictions apply.
- Take advantage of a $100 credit towards eligible charges* at over 1,300 upscale hotels worldwide when you book The Hotel Collection through AmexTravel.com or the Amex Travel App **. *Eligible charges vary by property. **The Hotel Collection requires a two-night minimum stay.
- Book your travel through the Amex Travel App with added peace of mind – backed by American Express® service and support. Only for American Express® Card Members.
- Whenever you need us, we're here. Our Member Services team will ensure you are taken care of. From lost Card replacement to statement questions, we are available to help 24/7.
- No Foreign Transaction Fees.
- Annual Fee is $325.
- Terms Apply.